How to Use Google Meet for Online Music Lessons: Setup and Best Settings
How to Use Google Meet for Online Music Lessons: Setup and Best Settings
If your teacher uses Google Meet for online music lessons, the setup is refreshingly simple. There’s nothing to install, and it runs right in your browser. Meet has fewer pro-audio controls than Zoom, but the one setting that matters most for music is easy to find, and a little attention to your audio, camera, and connection makes a big difference.
Here’s how to get Google Meet ready for music.
Use Chrome on a Computer
Google Meet works best in the Chrome browser on a laptop or desktop. You can join from a phone, but a computer gives you a better camera angle and a more stable connection. There’s nothing to download, just click the lesson link your teacher sends.
Turn Off Noise Cancellation
This is the single most important setting for music on Google Meet. Meet’s noise cancellation is designed to filter out background sound during conversation, and it will treat your instrument the same way, cutting and muffling your playing.
In the lesson, click the three-dot menu → Settings → Audio, and switch Noise cancellation off. Your teacher should do the same. With it off, Meet passes your instrument through far more faithfully.
Use Headphones and a Good Microphone
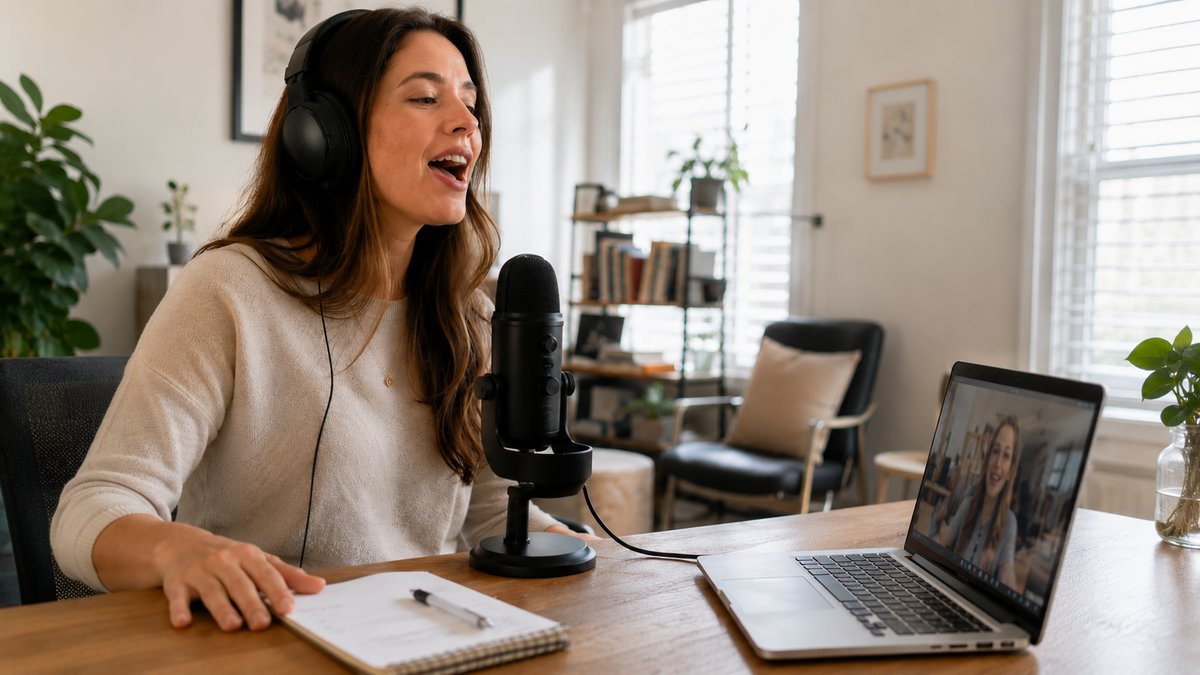
As with any platform, headphones prevent the echo loop that happens when your teacher’s sound comes out of your speakers and back into your mic. Wired earbuds are fine; over-ear headphones are better. If you have a USB microphone, use it. It’s the biggest improvement to how clearly your teacher hears you. Meet doesn’t have a high-fidelity music mode the way Zoom does, so good hardware matters a little more here.
Set Up Your Camera and Lighting
Position your camera so your teacher can see your hands and instrument, not just your face: the keyboard for piano, the fretboard for guitar, your bow arm or embouchure for strings and winds. Prop your laptop up or use a small stand. Light yourself from the front by facing a window or lamp so you’re not in shadow.
If Your Connection Is Slow or Lagging
If your video freezes or your teacher says you’re cutting out, it’s almost always your internet connection rather than Google Meet. Music is less forgiving of a shaky connection than talking is, so try these in order:
- Use a wired connection. An ethernet cable from your computer to your router is the steadiest option and the biggest single improvement.
- On Wi-Fi, move closer to the router and reduce the walls between you and it. Use the 5 GHz network if your router has one.
- Close other apps, browser tabs, and background downloads.
- Ask others at home to pause streaming, gaming, and large downloads during your lesson.
- Turn off your camera if audio breaks up. Video uses the most bandwidth, and for music your sound is what counts.
- Lower Meet’s video quality. In the lesson: three-dot menu → Settings → Video → set “Send resolution” to standard definition. That frees up bandwidth for clear audio.
- Restart your router if it’s been on for a long time.
- Run a quick speed test at fast.com: a few Mbps of upload is plenty; stability matters more than raw speed.
- Last resort: use your phone’s hotspot if your home internet fails.
Trying online lessons for the first time? Here’s what to expect in your first online music lesson. And for a side-by-side of all the platforms, see our best video setup for online music lessons guide.
How to Find a Music Teacher on Tunelark
Every music teacher on Tunelark is vetted for credentials, teaching experience, and ability to teach effectively online. Our roster covers every common instrument plus voice, with teachers across classical, jazz, pop, contemporary, and beyond.
To find your match:
1. Browse our music teachers and filter by instrument, style, or student age.
2. Read bios carefully. Look for teachers whose described approach matches your goals.
3. Book a trial lesson with two or three teachers whose profiles resonate.
4. After each trial, notice: did the teacher feel curious about you and clear about what they’d work on next? Both signals matter more than credentials.
The best music teacher for you isn’t the most credentialed or the most popular. It’s the one whose teaching style and personality fit how you learn. Tunelark makes that match easier to find.
Frequently Asked Questions
What is the most important Google Meet setting for music lessons?
Turn noise cancellation off (three-dot menu → Settings → Audio). Meet’s noise cancellation treats instruments like background noise, so disabling it lets your playing come through clearly.
Is Google Meet good enough for music lessons?
Yes. Meet has fewer audio controls than Zoom and no dedicated music mode, but with noise cancellation off, headphones, and a decent microphone, it works well for online music lessons.
Do I need to install anything to use Google Meet?
No. Google Meet runs in your web browser: Chrome on a computer works best. Just click the lesson link your teacher sends you.
How do I stop echo on Google Meet?
Wear headphones. Echo happens when your teacher’s audio plays through your speakers and back into your microphone, and headphones eliminate it.
Why does my Google Meet lesson keep freezing or cutting out?
That’s almost always your internet connection. Use a wired ethernet connection, move closer to your router, and close other apps and downloads. You can also lower Meet’s video quality (three-dot menu → Settings → Video → standard definition) to free up bandwidth for clear audio, or turn your camera off entirely if the sound is breaking up.
Keep reading
About Jennifer Heath
I'm Jennifer Heath, VP at Tunelark and a lifelong singer. I joined the company in 2020 and oversee much of what makes Tunelark work for our students and our teachers. That includes hiring, training, and supporting our instructors, customer and student support, marketing, and the day-to-day operations of the business.
I started voice lessons at age 7, sang with professional choirs that toured internationally through my teens, and performed solo at competitions and community events across Texas before stepping away in my twenties to study other interests, including business management. I haven't performed professionally in years, but I'll happily take the microphone at a karaoke night. Music has been in me every day of my life. Being able to spend the last six years working inside an online music education company, while traveling the world full-time, has been a perfect fit.
I believe deeply that music belongs in every life. For the self-expression, the discipline, the comfort, and the simple joy of it.
The Tunelark blog is where we share what we've learned about online music lessons: how to choose an instrument and a teacher, what to expect from your first lesson, how the major platforms compare, and how to keep music going through the busier seasons of life. Practical, honest writing you can act on.
Who we are
Tunelark provides virtual 1-on-1 music lessons to learners
of all ages.
We remove the barrier of geography and connect learners and teachers — wherever they are. Our growing community of vetted, experienced music educators have expertise in a wide variety of instruments, genres, and skill levels. We are passionate about connecting each student with the perfect instructor.