Piano Hand Position for Beginners: How to Protect Your Hands
The thing nobody tells beginners about piano hand position: getting it right early saves you years of frustration later. Getting it wrong early is a common contributor to technical problems that take years to undo, and to the physical strain some adult players run into later. This isn’t meant to discourage anyone. It’s meant to make the case that the first few weeks of paying attention to your hands are some of the most valuable hours you’ll spend at the instrument.
Good piano hand position is not complicated. It is also not automatic. Hands that are simply placed on the keys tend to flatten, and the wrist tends to drop. The shape you want is the one your hand makes when your arm hangs loose at your side, carried up to the keyboard unchanged, and small corrections in the first month carry forward for the rest of your playing life.
Why Hand Position Matters More Than You Think
Hand position is not an aesthetic preference. It sets a ceiling on how fast you can play, on how quietly you can play, and on how your hands feel after an hour at the keyboard.
It slows you down. Tense hands can’t move quickly, can’t play evenly, and can’t relax between notes. Many speed problems in beginner playing have a hand position problem underneath them.
It limits your dynamic range. To play softly with control, your fingers need to be in a position where small motions produce small sounds. Flat or tense fingers cost you control over volume, so soft playing gets unreliable.
It causes pain. Tendinitis, wrist strain, and chronic forearm tension turn up in adult students often enough that teachers watch for them, and early habits with hand position are one contributor among several. How many hours you practice, how fast you add difficulty, and how much tension you carry in your shoulders and neck all belong in the same picture. The injuries pianists pick up are rarely random, and the mechanical half of that picture is the half most under your own control.
The good news is none of this is mysterious. A good teacher can correct your hand position in a single lesson, and then it’s up to you to maintain the correction for the next several weeks of practice. After a month or two, the new position becomes the natural one.
The Resting Hand Position
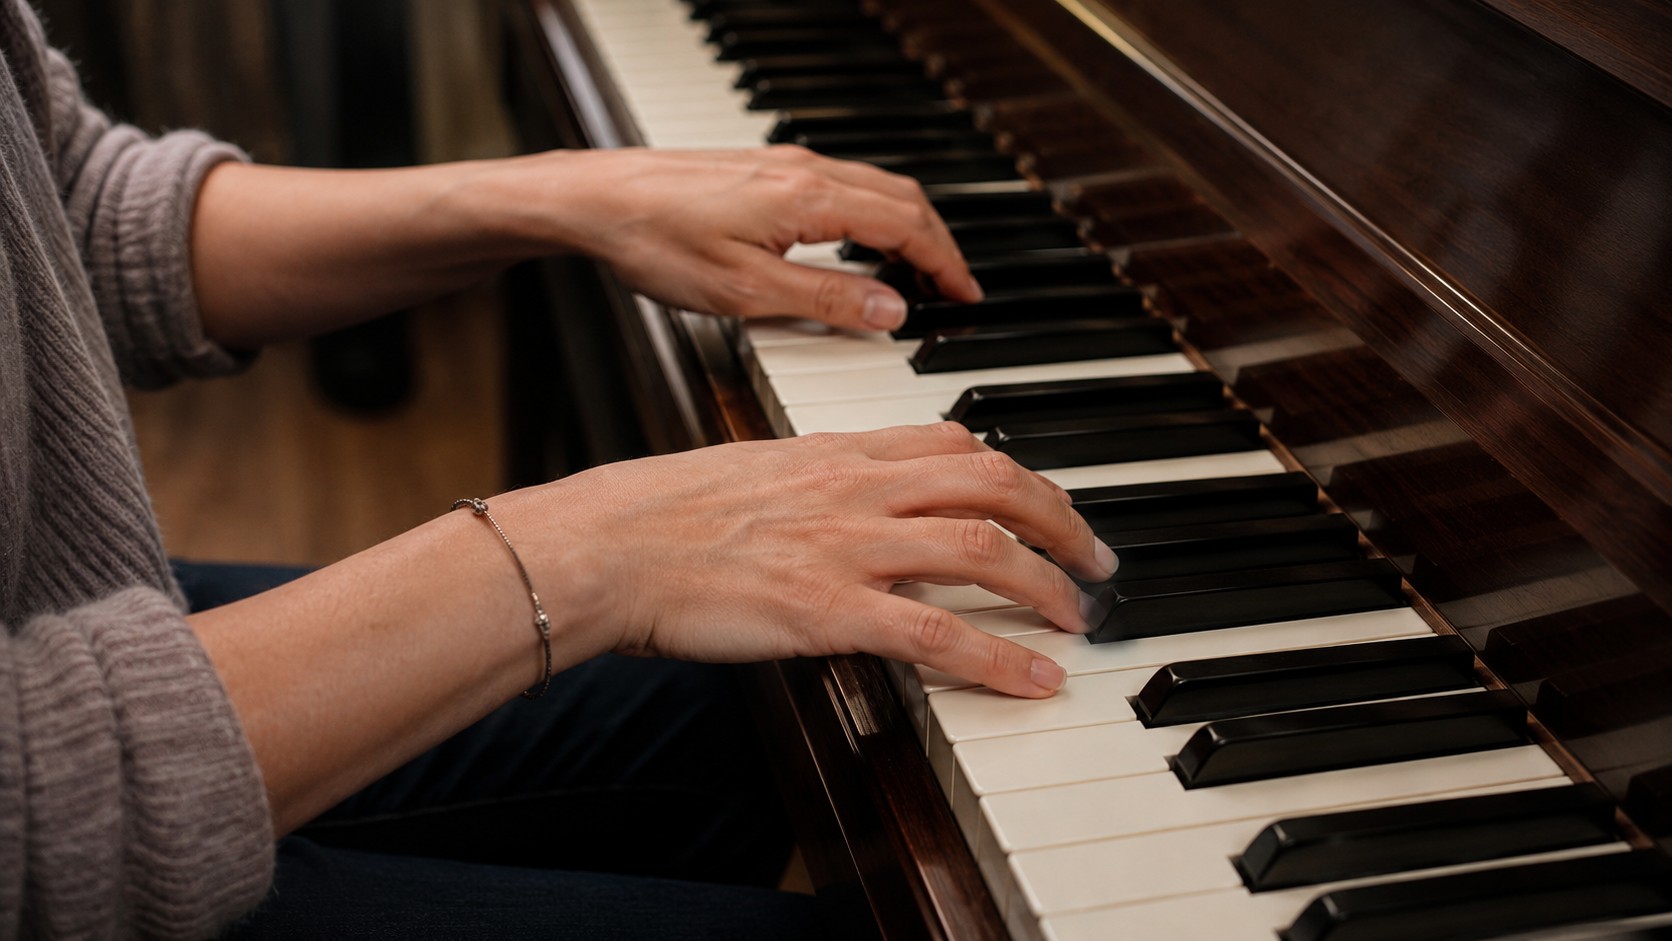
Here’s the position you want, described slowly. Sit at the keyboard. Let your arms hang relaxed at your sides. Slightly curved fingers, thumb gently forward, palm soft: the shape is already there, and you have not done anything to make it.
Now raise that hand to the keyboard without changing its shape. Place your fingers on the keys with the natural curve intact. The fingertips touch the keys, not the pads of the fingers. The knuckles where your fingers join your hand are gently arched, not collapsed.
The key points:
- Wrists level with the back of the hand, so the forearm, wrist and knuckles sit on one line. Not bent up, not collapsed down.
- Fingers curved, with the joints rounded, as if you were loosely holding a small orange.
- Thumb resting on its side, not flat on the keyboard.
- Hand weight supported by your fingertips, not your wrist or forearm.
- Shoulders relaxed, not hunched.
That’s it. The whole frame fits in one paragraph. Maintaining it is the work of months.
Wrist Angle and Why It Matters
The wrist is easy to overlook because it feels comfortable while it is wrong. Most untrained players let their wrists collapse, the wrist drops below the level of the hand and the forearm angles upward to the keys. This feels comfortable for about fifteen minutes. Then your forearm tightens. Then your hand tires. Then, over weeks of practice, the small constant tension starts to cause real strain.
The correct wrist angle is level. A straight line should run from your elbow through your wrist to your knuckles. The wrist neither bends up nor collapses down. It’s neutral, the same position your wrist is in when you’re typing properly or holding a coffee cup.
A useful self-check: glance down while you’re playing. If the back of your hand and your forearm look like one connected plane, you’re close to right. If the back of your hand tilts up toward you with the wrist sitting below it, you’re collapsed.
Bench height matters here. If you’re too low at the keyboard, your forearms angle up to reach the keys and your wrists drop below your hands, the collapse described above. If you’re too high, your wrists ride above your hands and your fingers hang down onto the keys. Raise the bench for a dropped wrist, lower it for a high one. The right height puts your forearms parallel to the floor when your hands are on the keys. Most adjustable benches and even kitchen chair-with-cushion setups can hit this.
Finger Curve and Independence
The second key element of piano hand position for beginners is the curve of the fingers. Each finger should be naturally bent at every joint, with the fingertip approaching the key from above rather than the pad of the finger lying flat across it.
Position is easier to judge by watching a hand work. Heather D. teaches piano on Tunelark and shows what each hand is actually doing.
Skill video · Hand Independence
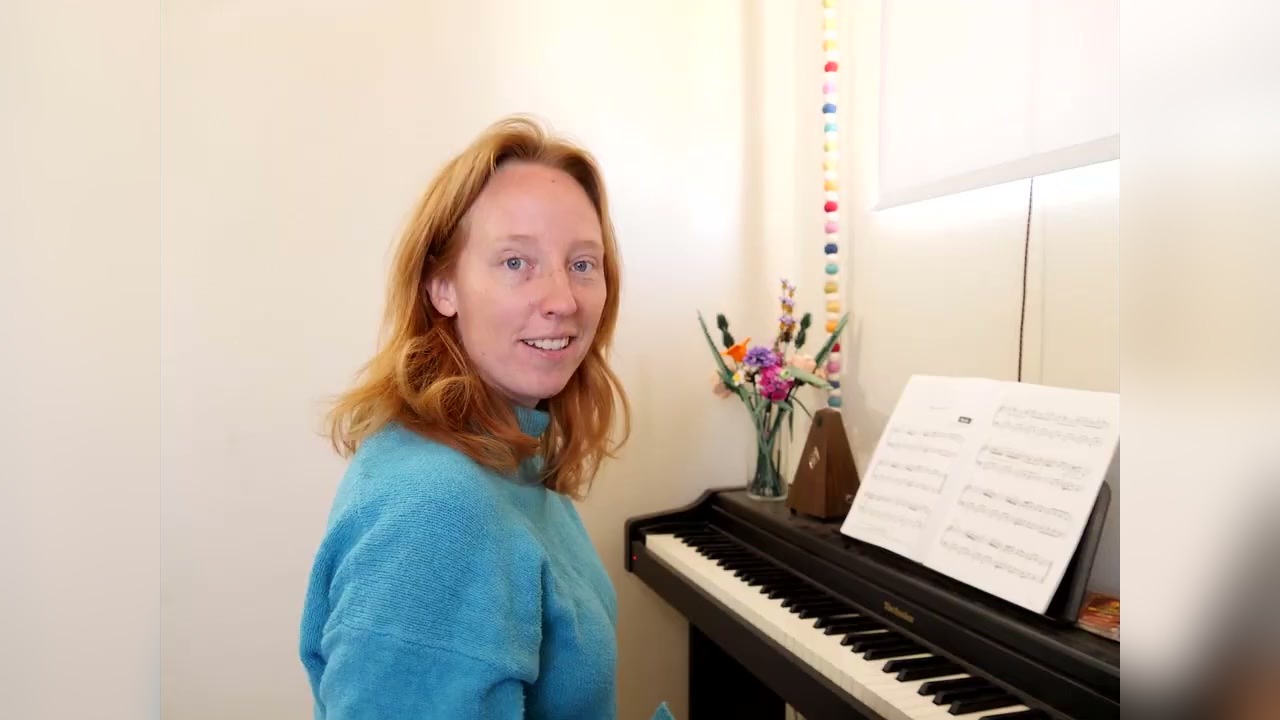
Heather teaches piano on Tunelark. View Heather’s profile
Keep the curve gentle: a relaxed hand at rest, not a hand squeezing something.
Why curve matters: a curved finger has leverage and quick recovery. It can press a key, return to its starting position, and press another key efficiently. A flat finger has neither. It slaps at the key and then has to be re-curled to do anything else.
Finger independence (the ability to move one finger without the others moving with it) is the other half of the equation. Most beginners’ fingers move in pairs at first, especially the fourth and fifth fingers. Slow, deliberate practice of five-finger patterns with attention to each finger lifting independently is the standard fix. A simple daily version: rest all five fingers on C through G, then lift and play one finger at a time while the other four stay quietly on their keys, four repetitions per finger in each hand, at a tempo slow enough that nothing else moves. Two minutes of that at the start of practice is enough. The beginner piano tips article shows where this fits in a beginner’s first weeks.
What Bad Habits Look Like (And How to Catch Them)
A few warning signs to watch for in your own practice.
Flat fingers. Your fingertips are not curved; instead, the pads of your fingers lie across the keys. This costs you speed and dynamic control. Fix by consciously curling each finger between phrases.
Collapsing first knuckle. The joint where your finger meets your hand caves inward as you press a key, especially with the fourth and fifth fingers. This is a structural problem that needs slow, isolated practice to correct.
Wrist drop. Your wrist hangs below the level of your knuckles. Fix by raising your bench, raising your wrist, or both.
Tight thumb. Your thumb sticks out stiffly or hovers below the keyboard. The thumb should rest lightly on its side, ready to move but not under tension.
Pinky in the air. Your fifth finger lifts away from the keyboard when you’re not using it. Keep it touching the surface of its key without pressing the key down, curved and ready to play.
Hunched shoulders. A surprising amount of hand tension starts in the shoulders. If your shoulders are creeping up toward your ears, your forearms are working harder than they should. Drop the shoulders consciously every few minutes.
Catching these habits as a beginner is much easier than fixing them as an intermediate. Many of these patterns are best caught by a teacher watching you play, but you can catch most of them yourself by occasionally recording video of your hands during practice and watching it back. Daily practice with attention to position locks in the good habits and prevents the bad ones from setting. Our guide on practicing music at home has structured routines to build that practice around.
How to Find a Piano Teacher on Tunelark
Hand position is one of the most teacher-dependent skills in piano. Books and videos can describe it, but a real teacher watching you play catches problems in minutes that you’d take months to notice yourself. If you’re committed to building a strong technical foundation, a teacher is the highest-leverage investment you can make.
1. Open the teacher list and filter by piano.
2. Read bios. Look for teachers who explicitly mention technique, posture, or working with beginners. Those signal someone who’ll watch your hands carefully.
3. Book a trial lesson with one whose profile resonates.
4. After the trial, notice: did the teacher comment on your hand position and posture, or only on the notes you played? Teachers who think about your body from day one save you years of trouble.
Spending your first months at the piano with good hand position is one of the best gifts you can give your future playing self. If you’re curious about the longer journey, our article on how long it takes to learn piano maps out the realistic stages of progress.
Frequently Asked Questions
How long does it take to develop good piano hand position?
The position itself can be learned in a single lesson. Maintaining it consistently in your playing usually takes one to three months of focused practice. After that, it becomes automatic.
Is it normal for my hands to feel tired when I first start?
A little muscle fatigue is normal in the first few weeks as new muscles activate. Sharp pain, persistent ache, or wrist discomfort is not normal and usually signals a hand position or technique problem. Talk to your teacher.
Should I use exercises specifically to build finger strength?
Less than you’d think. Most “finger strength” problems in beginners are actually relaxation problems: tense fingers that need to learn to release between notes. Slow scales with attention to relaxation help more than dedicated strength exercises.
What’s the most common piano hand position mistake for beginners?
Flat fingers and a collapsed wrist, usually together. Both come from gravity and unfamiliarity with the position. Catching it early and reminding yourself to curl your fingers and lift your wrist gradually retrains the habit.
Will bad hand position really cause injury?
It can, especially in adults who practice a lot with tight technique. Position is one contributor among several, as the section on why it matters sets out.
Looking for an online piano teacher? See our full Online Piano Lessons page for everything you need to know about getting started.
Keep reading
About Jennifer Heath
I'm Jennifer Heath, VP of Operations at Tunelark and a lifelong singer. I joined the company in 2020 and oversee much of what makes Tunelark work for students and teachers: hiring, training and supporting our instructors, student support, marketing and day-to-day operations. I started voice lessons at 7 and sang with touring choirs through my teens. Music belongs in every life, for the self-expression, the discipline, the comfort and the simple joy of it.