Beginner Flute Tips: What Every New Flutist Should Know
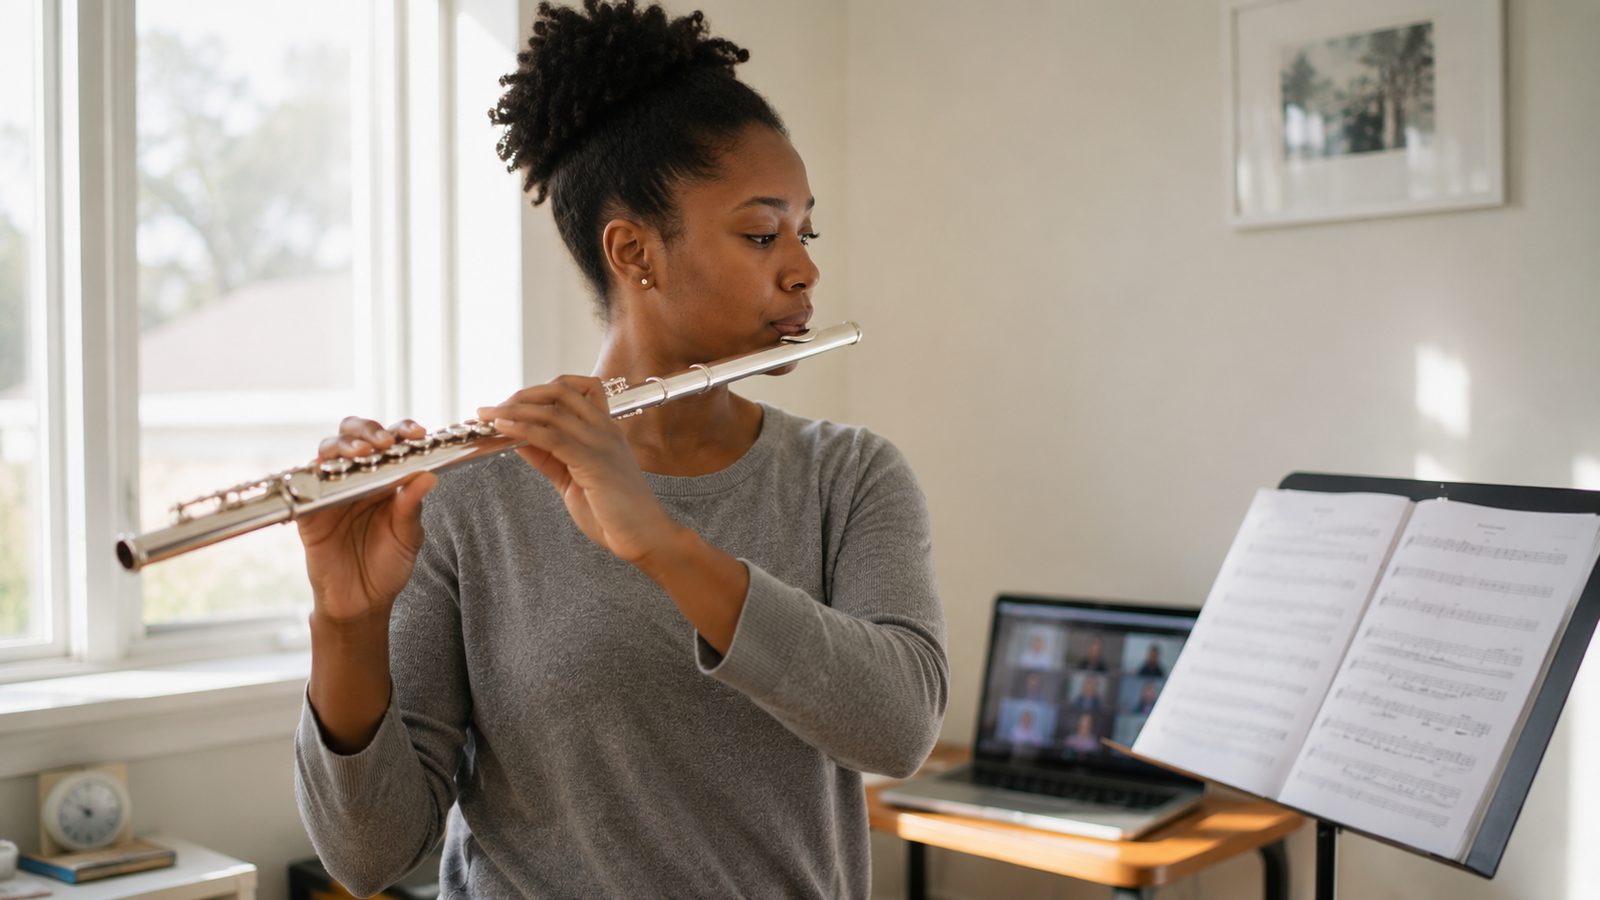
Flute has a reputation for being a delicate, elegant instrument, and that reputation is half right. The sound can be delicate. The early learning is anything but. Flute is one of the more demanding wind instruments to start, mostly because of one specific challenge: there’s no reed, no mouthpiece chamber, nothing to help you produce a tone. You make the sound entirely with how you shape your air. That’s why beginner flute tips that get the early habits right are worth far more than any later technique advice.
If you’re new to flute or thinking about starting, here’s what actually matters in the first few months.
The First Real Milestone: Getting a Stable Tone
Most beginning flute students find a first real note within the first week or two, often with the headjoint alone, and then spend the next two to three months turning that note into a sound they can count on. This is normal. It’s not a sign that you’re untalented or that the instrument is wrong for you. It’s the single hardest threshold flute presents, and getting through it is the first real milestone. Our guide to the first flute lesson and what goes wrong walks through the headjoint-only fix.
The tone comes from directing a narrow stream of air across the embouchure hole at exactly the right angle. Get the angle wrong by a small amount and the note disappears or splits. Get it right and a clear, focused sound emerges, sometimes startling the student who produces it. Moving that stream up an octave takes faster air rather than more of it, which our guide to flute octaves works through.
A few things to know during this phase:
- A breathy, airy sound is normal at first. Don’t try to fix it by blowing harder. Blow more focused, not more forcefully.
- You’ll often produce a great tone for thirty seconds and then lose it for the rest of the practice. That’s also normal.
- The tone gets consistent through repetition, not through trying harder. Short practice beats long frustrated sessions.
Embouchure: The Single Most Important Thing
Every flute technique sits on top of embouchure (the way you shape your lips, mouth, and air stream), and bad embouchure habits established early are extremely hard to undo later.
A few embouchure beginner flute tips worth internalizing:
- The aperture is small. The opening between your lips should be about the size of a small grain of rice. Most beginners blow with too wide an opening, which is why their tone is breathy and unfocused.
- Lips are firm, not tight. There’s a difference. Tight lips strangle the tone. Firm lips support the air stream without restricting it.
- The air goes down and across. Not just across, not just down. The angle into the embouchure hole determines pitch and clarity simultaneously.
- Your jaw stays relaxed. Tension in the jaw radiates into the embouchure and kills tone.
Getting a teacher to watch your embouchure in the first month is one of the most valuable things you can do. Video lessons work well for this. A good teacher can spot embouchure issues that you’d never see in a mirror. Our guide to what to expect from a first online lesson covers what those early lessons feel like.
Hand Position and Holding the Flute
Flute is held to the side, parallel to the floor (more or less), and this asymmetric position causes more early discomfort than most instruments. Some basics:
- Left hand on top, fingers curved. The left thumb is a playing finger. It rests lightly on the thumb key and stays free to move for B flat, so it does not hold the flute up. Fingers stay arched, not flat.
- Right hand below, with the thumb tucked under the body. The right pinky controls a key that’s used constantly. Get used to it being engaged.
- The flute rests on three points: the left index finger at the base, the right thumb, and the chin. These three points stabilize the instrument so your fingers can move freely.
Common early problems: hunching the shoulders, gripping too tightly, twisting the neck. All of these create tension that limits your playing and can cause real discomfort over time. A few minutes of attention to posture every practice session pays off enormously.
Breath Support and Why It Matters Early
Flute uses more air than most wind instruments because there is no reed or mouthpiece to resist the air, and much of the stream passes over the far edge of the hole rather than into the tube. Widening the lip opening does not recover that air, it only makes the tone breathier. The aperture stays small and the air stays focused, and you accept that some of the stream will always go past the instrument.
Most beginners do not realize how much air the flute asks for, and they run out of breath constantly in the first few months. The answer isn’t bigger lungs. It’s better breath support.
Breath support means metering the air out with your abdominal wall and the muscles around your lower ribs, while the ribcage stays open rather than collapsing on the first beat. The diaphragm’s job is the intake. It contracts and drops to draw the breath in, then releases as you blow, so there is nothing to squeeze with on the way out. Without support you produce notes by sheer lung pressure, which exhausts you fast, gives you an unstable tone, and usually adds throat and shoulder tension.
A simple beginner flute tip: practice breathing into your belly, not your chest. Lie on your back with a book on your stomach and watch the book rise as you inhale. That’s the breathing pattern flute needs.
This isn’t optional or advanced work. Breath support is foundational, and the students who develop it early sound dramatically better in their first year than those who don’t.
Practice Habits for Your First 90 Days
The right practice habits in the first three months set the trajectory for everything after. A few principles:
- Practice five or six days a week, even briefly. Embouchure is a physical skill, and frequency builds it faster than long irregular sessions. A planned rest day is not a lapse. Our guide on practicing music at home has more on building a sustainable routine.
- Start every session with long tones, and let them be the warm-up. Cold lips don’t make good tones, so begin with two or three easy minutes at a comfortable dynamic. Pick a note in the middle register, hold it steady, then another note, then another. In those first minutes the goal is a note that stays put rather than a beautiful one, so keep the air even and let the sound be what it is.
- Then go to the assigned work. Once the tone is speaking reliably, move on to the piece, the exercise or the scale your teacher asked you to prepare. A short warm-up leaves most of a 15- to 20-minute session for the work that moves you forward, which is the whole point of practicing daily.
- Record yourself. What you hear while playing isn’t what your teacher hears. Recording short practice sessions and listening back is the fastest way to develop self-awareness.
- Don’t skip scales. Major scales feel boring. They build technique that everything else relies on.
For a realistic look at what those early weeks actually feel like, what beginning music lessons are really like covers the broader experience honestly.
Who Teaches Flute Here
Joyce L. plays and teaches flute, and the performance below is the sound these first ninety days are aimed at. Cooper W. plays and teaches saxophone, flute, clarinet and bass guitar, which is the woodwind doubling path a school flutist often ends up on. Embouchure advice that works is advice from someone who has had to rebuild their own. A teacher who plays more than one woodwind has spent years switching between embouchures deliberately, and that is exactly the muscle control a beginner is trying to find for the first time.
Joyce L. plays Varese’s Density 21.5, written for solo flute. Listen to the tone hold steady through every register, which is the thing the embouchure work above is building toward.
Performance · Density 21.5
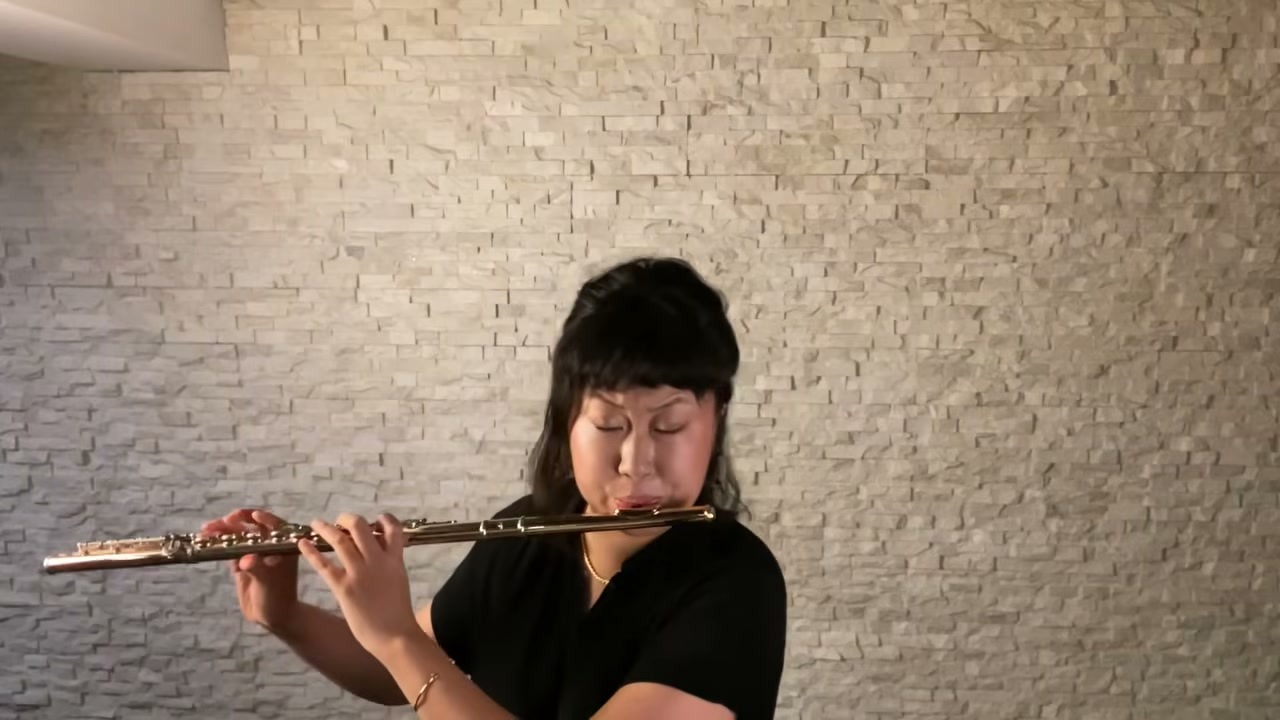
Joyce teaches flute on Tunelark. View Joyce’s profile
How to Find a Flute Teacher on Tunelark
Finding a teacher who specializes in flute (and especially in early-stage flute) makes the first three months dramatically easier. The flute teachers taking new students on Tunelark all work with beginners.
1. Open the teacher list and filter by your instrument.
2. Read bios. Look for teachers who mention tone development, embouchure, and beginning flutists specifically.
3. Book a trial lesson with one whose profile resonates.
4. Notice whether the teacher actively diagnoses your tone in the trial. That’s the sign of someone who can shorten the early frustration phase.
Flute rewards patience like few other instruments. The right teacher makes the patience pay off faster.
Frequently Asked Questions
How long does it take to get a clear tone on flute?
Most beginners produce some tone within the first two weeks and a consistent tone within two to three months. The journey from consistent to genuinely beautiful tone is a multi-year process, but the early hurdle clears faster than most students expect with daily practice.
Is flute harder than clarinet or saxophone?
In the first three months, yes: flute has the steepest tone-production curve of the common woodwinds, because there is no reed or mouthpiece chamber to help you make the sound. After that, the relative difficulty levels out and flute is no harder than its woodwind siblings.
Do I need an expensive flute to start?
No. A solid beginner flute from a reputable maker is plenty for the first two to three years. What matters more is that the flute is in good repair and properly adjusted. A cheap flute in poor repair is far harder to play than a well-maintained beginner instrument.
Can I teach myself flute?
You can learn the basics from videos, but flute embouchure is one of the hardest things to self-correct because you can’t see what you’re doing. A teacher in the first few months saves enormous time and prevents bad habits that are hard to undo later.
How much should I practice as a beginner?
15 to 20 minutes a day, five or six days a week, with a rest day or two as part of the plan rather than a failure of it. Embouchure muscles fatigue quickly in the first months, so shorter and more frequent practice is genuinely more effective than longer occasional sessions.
Keep reading
About Jennifer Heath
I'm Jennifer Heath, VP of Operations at Tunelark and a lifelong singer. I joined the company in 2020 and oversee much of what makes Tunelark work for students and teachers: hiring, training and supporting our instructors, student support, marketing and day-to-day operations. I started voice lessons at 7 and sang with touring choirs through my teens. Music belongs in every life, for the self-expression, the discipline, the comfort and the simple joy of it.