The Fretting Hand: How to Play Guitar Cleanly Without the Strain

Most of the problems a beginner brings to a first guitar lesson live in the fretting hand. The chord buzzes. The high string is muted by the finger next to it. The hand cramps after a minute and the wrist aches after five. The fingers fly off the neck between notes and arrive late for the next one. None of it is a lack of talent, and very little of it is a lack of strength. It is the hand being asked to do something it has never done, in a position nobody showed it.
This guide is that position, from the thumb outward, with our guitar teachers demonstrating each part. It covers where the hand sits on the neck, how the fingers land, how they move as little as possible, how to silence the strings you do not want, and how to add movement inside a chord without the rest of the hand following. The sore fingertips of the first weeks are a separate matter, and our beginner guitar tips covers them.
Start with the thumb, not the fingers
The fretting hand is built from the back. Where the thumb sits decides where the palm sits, and where the palm sits decides whether the fingers can reach.
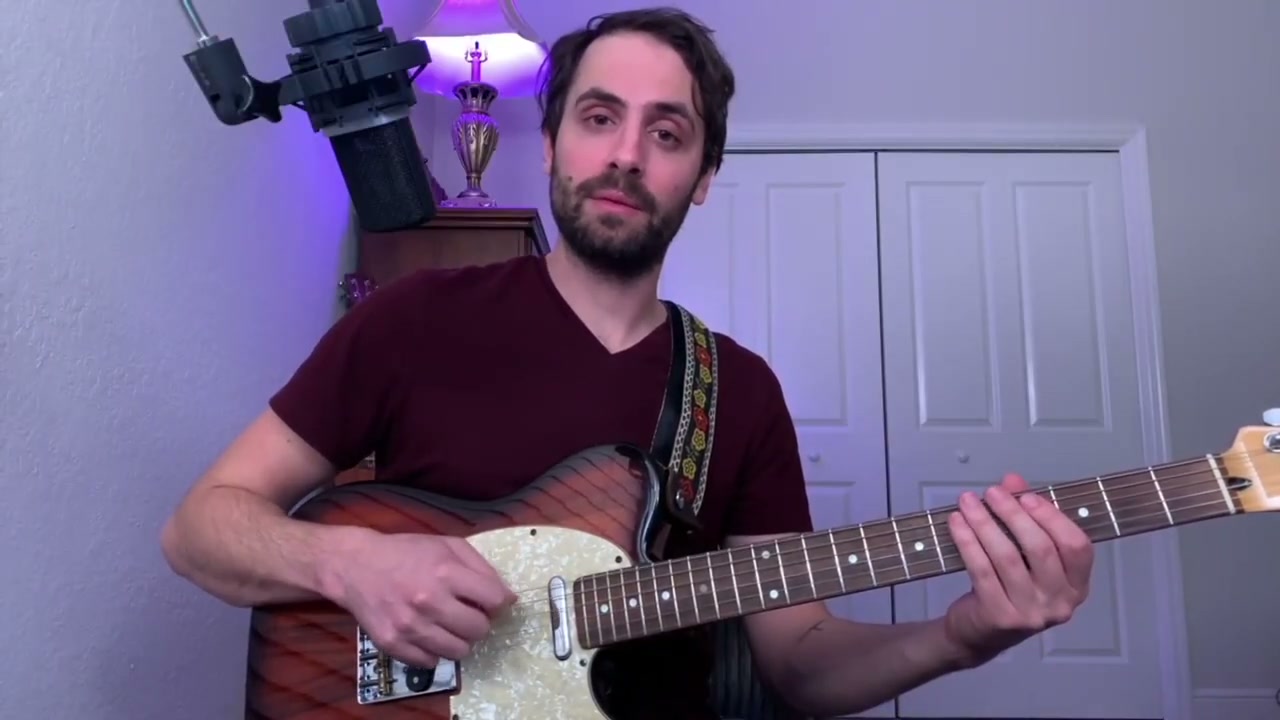
Peter J. sets the whole hand up from scratch in the video below, and he asks beginners to stick with this position before experimenting with any other, because it is the one that builds finger independence and flexibility without tension. Put the hand out flat, turn it over, and that is the shape. The thumb goes behind the neck, roughly upright, in its natural position rather than forced flat, and it does not squeeze. Squeezing steals energy from the fingers. The pressure comes from the fingertips pulling into the fretboard instead. The palm stays off the neck, because a palm resting against the wood locks the fingers. And the fingers come down on their very tips, with the first finger on a fret and the other three hovering over the next three frets, each one ready.
Skill video · Fretting Hand
Peter teaches guitar and bass on Tunelark. View Peter’s profile
His test for the position is the exercise at the end of the video: first finger on the fifth fret, second on the sixth, third on the seventh, fourth on the eighth, one string at a time across all six, with the fingers spread and upright so that each one stays over its own fret instead of crowding its neighbor. He says he has watched hundreds of students who were sure their hands could not do it get there by repeating exactly those steps. The picking hand’s part of that exercise, alternate picking with the pick at a right angle to the body, is in the same video.
Bring the thumb down for chords
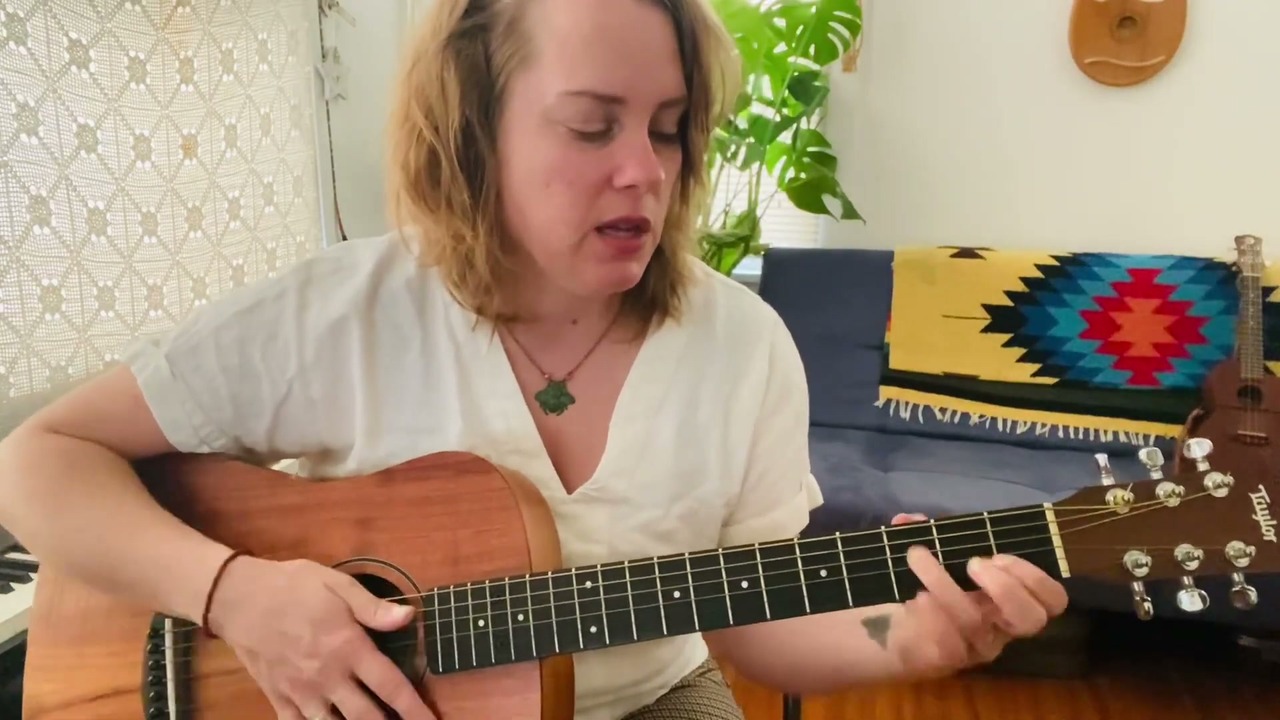
The thumb stays behind the neck for chords too, though for open shapes it sits lower on the back, and Adriel A. shows why in two minutes. With the thumb hooked high over the top of the neck, the palm wraps around the wood and there is no room between the palm and the fretboard. The C, D and G shapes cramp, and the stretch for C feels impossible. Bring the thumb down toward the middle of the back of the neck and the space opens up under the hand. The wrist comes forward, the fingers arch over the strings, and the same chords land without the strain.
Skill video · Hand Positions for Guitar Chords
Adriel teaches guitar, piano and ukulele on Tunelark. View Adriel’s profile
If a chord feels cramped, this is nearly always the first thing to check. The chord shapes themselves, and the two-chord drill that makes changes between them clean, are in the five chords every beginner needs.
Fingers stay close, and stay down
With the hand in position, the next habit is economy of motion, and it is the one that decides how fast a player can eventually go.
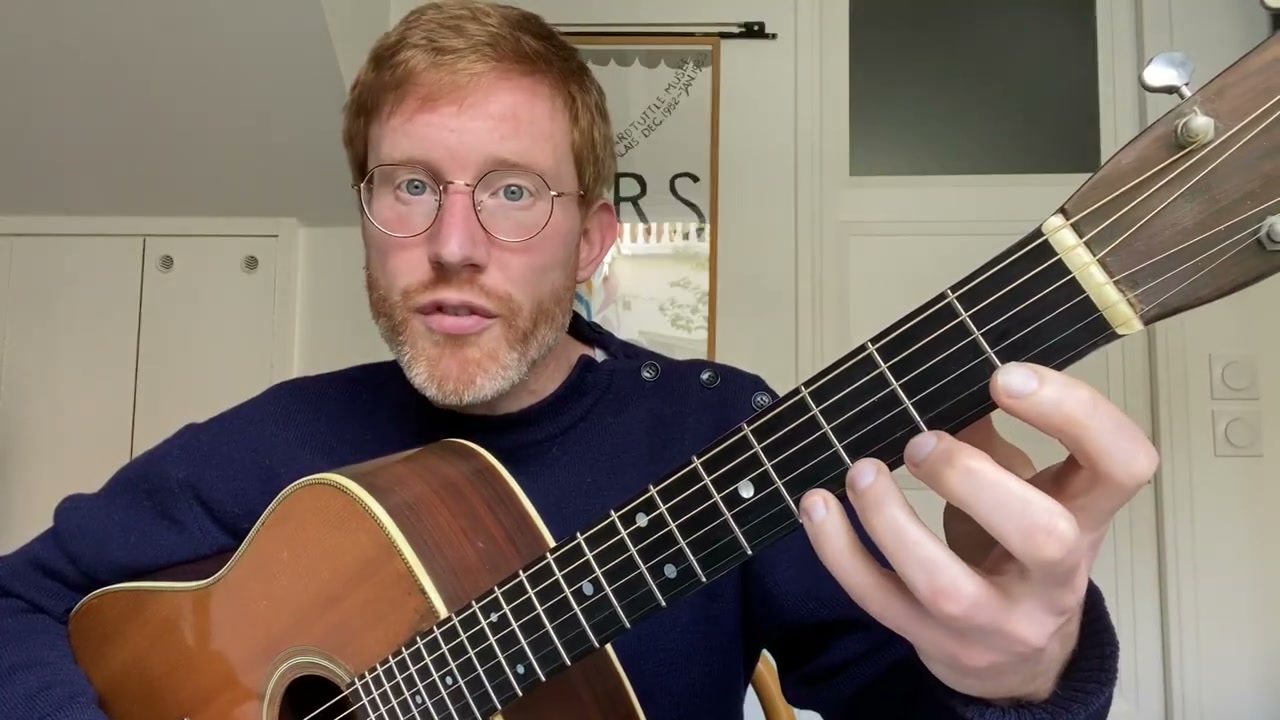
Michael H. starts with the mistake he sees most: a player uses one finger per fret up a string, and every finger not in use flies away from the neck. The fix has two parts. The idle fingers stay as close to the strings as possible, hovering rather than flying. And on the way up, each finger stays pressed down after it plays, so that by the fourth note all four fingers are on the string, and on the way back down the hand only has to lift one finger at a time. The notes on the way down cost almost nothing, because the fingers are already there.
Skill video · Left Hand Exercise
Michael teaches guitar and bass on Tunelark. View Michael’s profile
His reason is the reason for the whole exercise: the less the fingers move, the faster they can eventually play. Speed is not a separate skill added later. It is what economy looks like when the tempo goes up.
Tony G. takes the same one-finger-per-fret idea and scrambles the order, so the fingers learn to land independently rather than in sequence. Four patterns, each shown close up. The first is a six-note sequence, one, three, one, three, two, four. The other three are four notes each: two, four, one, three; one, four, two, three; and two, three, one, four. All of them are played across the neck with the thumb, wrist and fingertips kept exactly as Peter set them. Tony’s case for it is that a few minutes of this a day builds finger independence in a way that playing through songs does not, which is why he reaches for it with students who feel their fingers are beyond hope.
Skill video · Alternate Chromatic Fingering
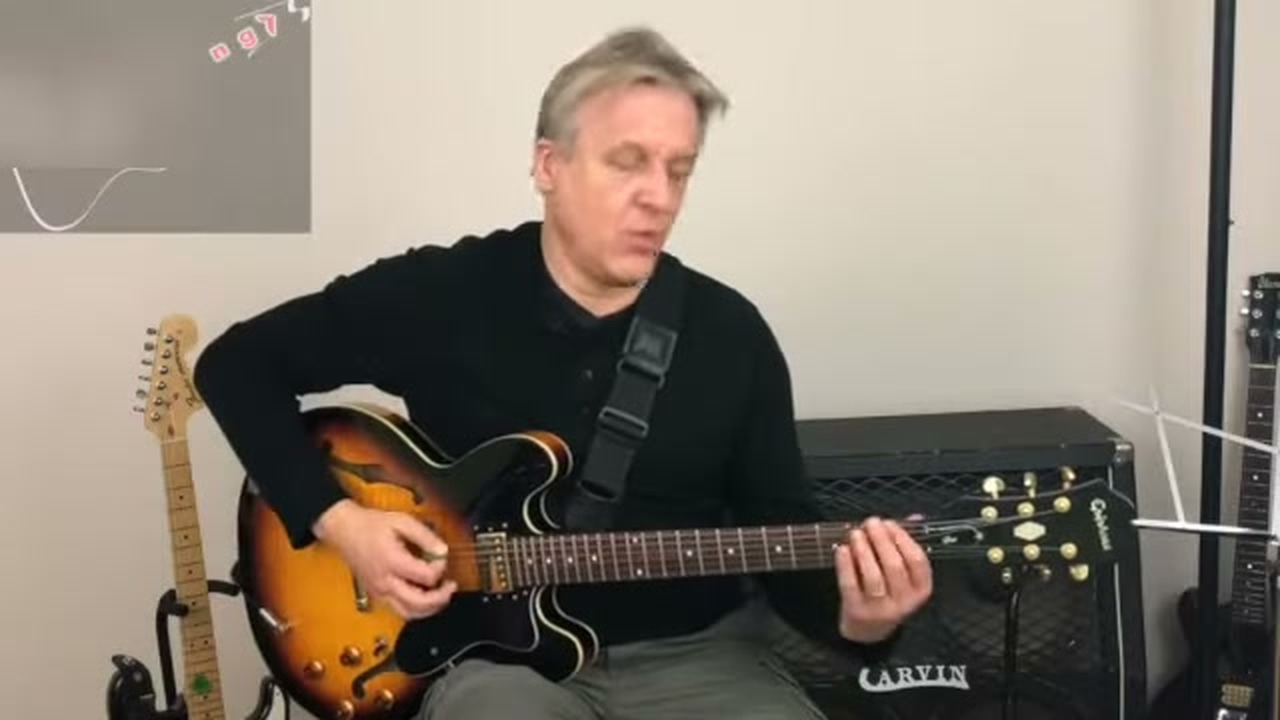
Tony teaches guitar on Tunelark. View Tony’s profile
Silence the strings you do not want
Clean playing is as much about the strings you stop as the strings you sound, and this is the skill that Michael says nobody taught him. Watching players hit two-string power chords hard and clean, he assumed their picking hands were impossibly accurate. They were not. The first finger, after fretting its note, lies flat across the strings above the root in pitch, the thinner ones, touching but not pressing, so they cannot ring. That is half the technique, and it is the whole of it only for a power chord rooted on the low E string. For the far more common A-string and D-string roots there is a second half: the tip of the first finger, or the thumb coming over the top of the neck, has to touch the thicker string or strings below the root as well, or the open low E and the open A ring loudly through the chord. With both halves in place the picking hand can strum all six strings as hard as it likes and only the two fretted notes sound, with a percussive click from the muted strings that is part of the sound.
Skill video · Muting
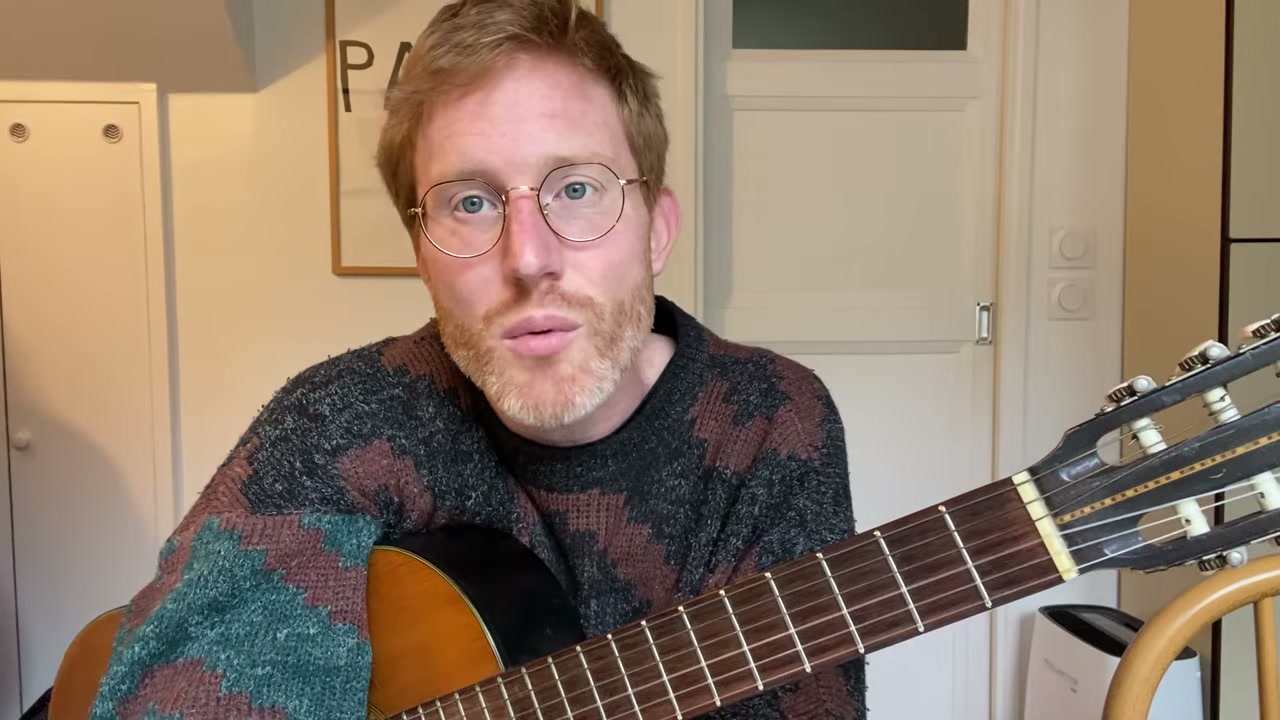
Michael teaches guitar and bass on Tunelark. View Michael’s profile
The same idea runs through every style. A muted string under a chord, a finger laid flat to stop an open string from ringing into the next chord, the side of the fretting finger touching its neighbor: all of it is the fretting hand doing the cleaning so the picking hand does not have to be perfect. If your power chords sound muddy, or an open string keeps ringing through a chord change, this is usually the reason.
Move one finger while the others stay still
The last skill in this guide is the one everything else has been building toward: moving a single finger inside a chord while the rest of the hand holds its position. It is how a chord gets a hammer-on, a pull-off, an added note, a melody. It is also the moment most beginners discover that their fingers move as a group.
Stu P. calls it independence of motion, and he teaches it on a C chord. First the middle finger alone: lift it off the fourth string, play the open string, and hammer the finger back onto the second fret with enough pressure to sound the note and no more. He has students explore what too much and too little pressure feel like, because both are different for everyone. Then the same hammer-on with the full chord held, watching whether the ring and index fingers move with it. Then the pinky onto the third fret of the B string, a D, with the index lifting off that string as the pinky lands, which turns the C into a Cadd9. Then a pull-off with the index finger for a turnaround, taking care not to mute the neighboring string on the way off.
Skill video · Developing Hand Independence
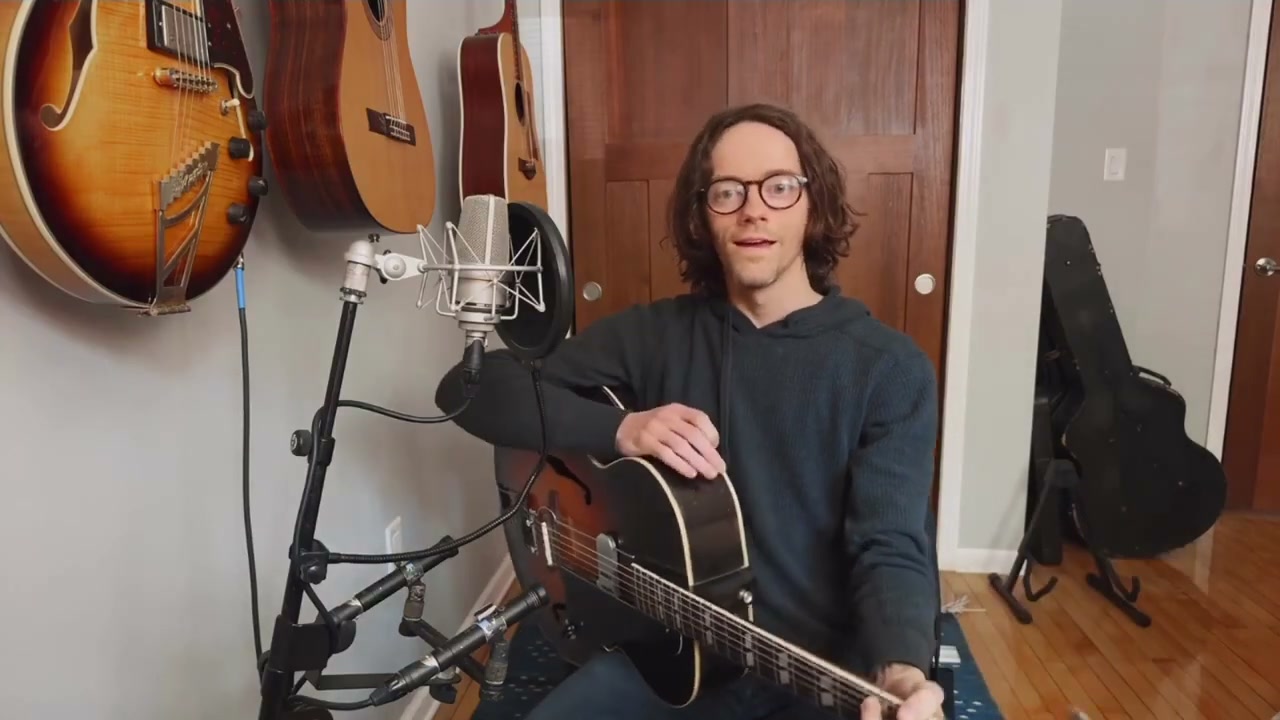
Stu teaches guitar on Tunelark. View Stu’s profile
His advice for the fingers that move when they should not is patient and specific: look at the hand, slow the motion down, and when the other fingers drift, return to the exercise without judging it. They stabilize with repetition. The second half of the video puts the hammer-ons into a strummed rhythm with the picking hand as the metronome, which is the bridge from this guide to fingerstyle, where that steady hand does the rest of the work.
Pain is information
Soreness in the fingertips during the first two to four weeks is normal and passes as calluses form. Everything else is a message from the position. A cramping palm means the thumb is too high or is squeezing. An aching wrist means it is bent too far, usually because the guitar is sitting too low or too flat against the body. A tired forearm after a minute means the fingers are pressing far harder than the note needs. Most notes sound clean with less pressure than beginners use, and the muting and hammer-on exercises above are good ways to find out how little.
When anything hurts sharply, stop, and treat the exercises here as something to do for a few minutes at a time rather than an hour. Barre chords are where the hand’s tolerance gets tested most, and they have their own guide in Alex P.’s account of the barre chord wall.
Putting it into practice
None of this needs a long session. Peter’s four-finger exercise, Michael’s economy drill and one of Tony’s patterns take five minutes together, and five minutes daily is the whole prescription. Tony’s case for ten minutes a day explains why the daily part matters more than the length. Do them slowly, with the thumb and palm where Peter put them, and the position becomes the hand’s default within a few weeks.
The reason this matters early is that the fretting hand learns whatever it repeats. A player who spends the first six months with a high thumb and a palm on the neck can play a great deal of music, and then meets a wall that a player with the default position never sees. It is one of the first things a teacher corrects in self-taught players, and it is why the self-taught versus lessons comparison puts technique gaps first. A few lessons at the start, with someone watching the hand, saves months of undoing it later.
Frequently Asked Questions
Where should my thumb be on the guitar neck?
Behind the neck, roughly upright and in its natural position, opposite the fingers, without squeezing. For open chords it often needs to drop toward the middle of the neck so the palm comes away from the wood and the fingers can arch over the strings.
Why do my guitar chords buzz?
Usually the finger is too far behind the fret, or on top of it, or the pressure is uneven. Check the thumb position first, then play each string of the chord one at a time to find the one that buzzes. If every chord buzzes at the same spot, have the guitar’s setup checked.
How hard should I press the strings?
Less than you think. A note sounds clean with the finger just behind the fret and moderate pressure from the fingertip. Pressing harder tires the hand, pulls notes sharp and makes chord changes slower.
How do I stop my fingers flying off the fretboard?
Practice one finger per fret up a single string, keeping every finger pressed down as you go up and lifting one at a time on the way down, with the idle fingers hovering just above the strings. Michael’s exercise above is exactly this.
Why does my hand hurt when I play guitar?
Fingertip soreness in the first weeks is calluses forming and is normal. A cramping palm or aching wrist means the thumb is too high, the wrist is bent too far or the fingers are pressing too hard. Fix the position rather than playing through it, and stop if anything hurts sharply.
What is a hammer-on on guitar?
A note sounded by a fretting finger coming down onto the string hard enough to make it ring, without the picking hand playing it again. A pull-off is the reverse: the finger leaves the string with a small downward flick that sounds the note below it.
Looking for an online guitar teacher? See our full Online Guitar and Bass Lessons page for everything you need to know about getting started.
Keep reading
About Jennifer Heath
I'm Jennifer Heath, VP of Operations at Tunelark and a lifelong singer. I joined the company in 2020 and oversee much of what makes Tunelark work for students and teachers: hiring, training and supporting our instructors, student support, marketing and day-to-day operations. I started voice lessons at 7 and sang with touring choirs through my teens. Music belongs in every life, for the self-expression, the discipline, the comfort and the simple joy of it.