How to Transition from In-Person to Online Music Teaching: A Working Guide
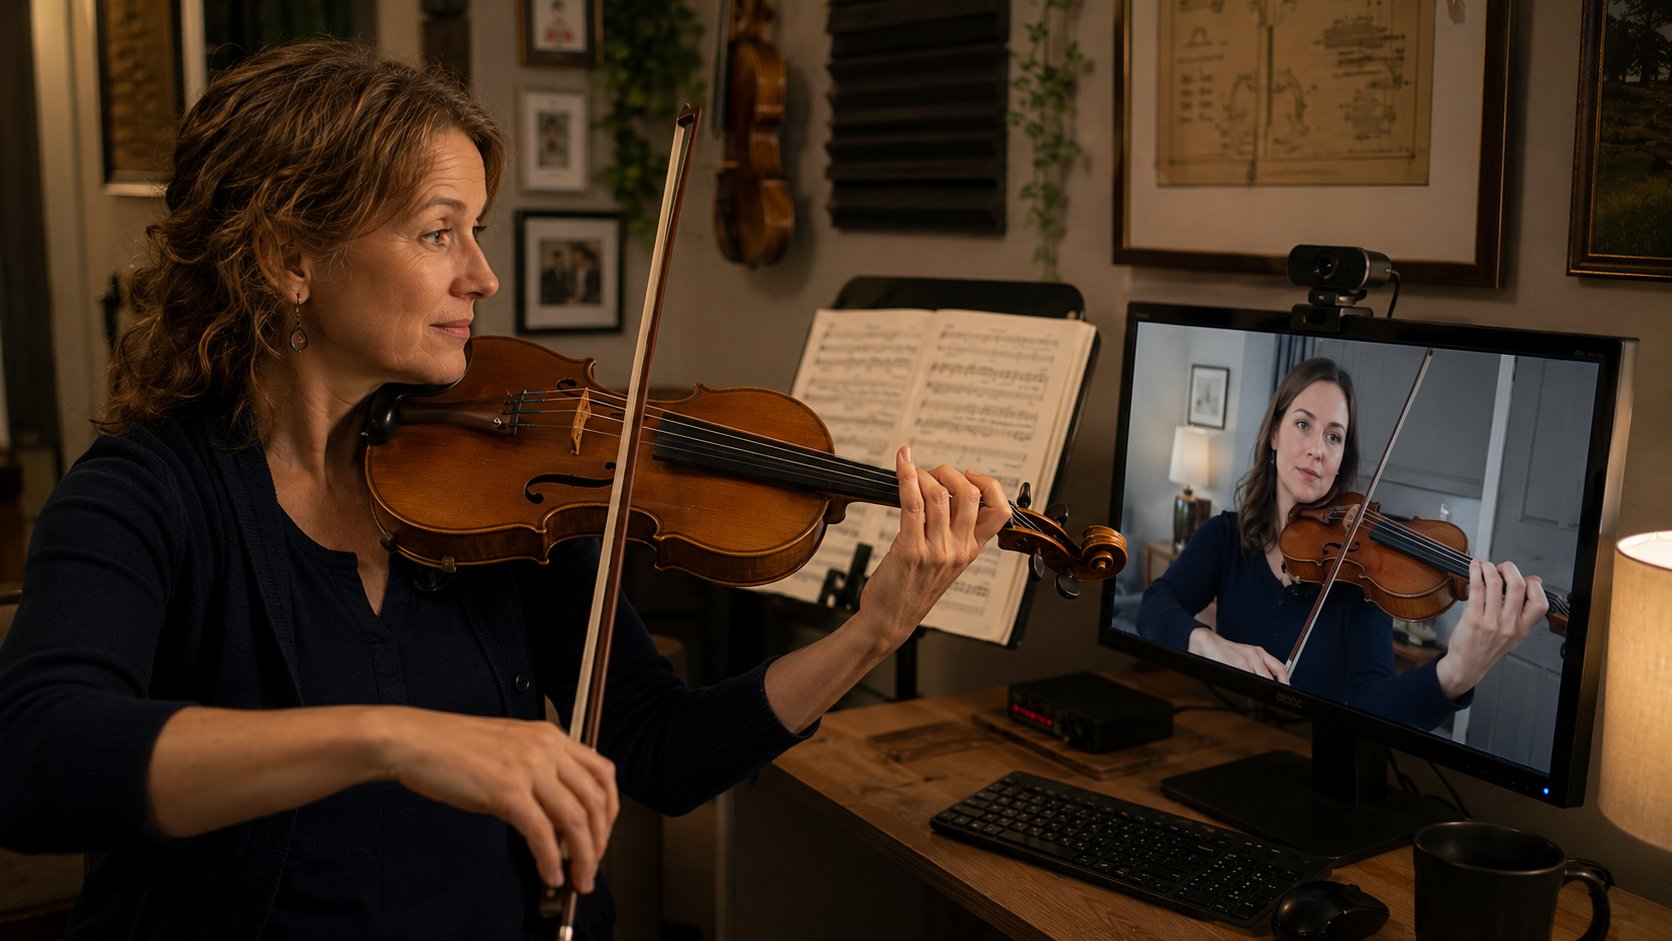
Most teachers who moved studios online during the pandemic did it under duress, then discovered the model fit their lives better and stayed. If you are making that move deliberately now, the failure modes are well documented and avoidable. This guide gets into the specifics that decide whether your online studio feels professional or feels like a downgrade: the exact audio settings, how to migrate an existing roster without bleeding students, how to restructure a lesson for a one-way camera, and what actually happens to your income. The teachers who thrive stop trying to recreate the in-person lesson on a webcam and rebuild it around what video does well.
What You Are Actually Trading
Before the gear, be honest about the constraints, because two of them are physics and you cannot buy your way out.
Latency kills real-time duet play. This is the hardest limitation and the one new online teachers underestimate. A standard Zoom or Meet call runs 100 to 300 ms of round-trip audio latency, while ensemble players notice timing slippage above roughly 25 to 30 ms (about the delay of sitting 30 feet apart). You cannot count off and play together, hold a steady accompaniment under a student, or trade fours in real time. Every workaround routes around this, not through it: you play and they listen, they play and you listen, or the backing track runs on their end. Dedicated low-latency tools like JackTrip can push under 30 ms but need wired connections and tolerant networks on both ends, so they are a niche solution for advanced students, not a default.
You lose tactile correction. You cannot reposition a wrist, lift a collapsing knuckle, or set a bow hold with your hands. You replace touch with sharper verbal cueing and better camera angles, and for most students that is enough, but it is a real adjustment for technique-heavy early instruction.
Jason W., who teaches guitar on Tunelark, names technique and hand position as the hardest things to teach through a screen, because fine detail gets lost on the way to the student. He answered it with several cameras and angles, so a student sees a technique properly the first time and has nothing to unlearn later.
What you gain is concrete and recurring: zero commute, a student pool defined by your reputation rather than your zip code, fewer weather and traffic no-shows, and near-zero overhead since there is no studio rent or in-studio liability. Teachers we work with commonly recover 3 to 8 hours a week from the commute alone. For a fuller breakdown of how those hours convert to dollars, the income math for online teaching is worth running before you commit.
The Gear That Actually Moves the Needle
Spend in this order. The ranking is deliberate, because teachers consistently overspend on cameras and underspend on the two things students actually notice.
1. Audio first. A USB condenser mic (Audio-Technica AT2020USB-X at around $130 to $170, or Rode NT-USB+ at around $160 to $190, as of mid-2026) is the single highest-impact purchase. Built-in laptop mics apply aggressive noise gating and compression that mangle quiet dynamics and decay, exactly the things students need to hear in your demonstrations. Place it roughly a hand-span away, 6 to 10 inches, and angle it slightly off-axis rather than straight at the source, so plosives and bursts of breath do not punch the capsule. Do not point it into a guitar soundhole or straight down into a piano lid, which is where the boom lives.
2. Wired internet. Run Ethernet to your teaching machine. Wi-Fi is the most common cause of mid-lesson dropouts and audio garbling, and in our experience a $10 cable fixes most of it, because a wired link removes the interference and packet loss a shared home network keeps introducing. If you cannot run a cable, a powerline adapter beats Wi-Fi for stability.
3. Camera flexibility over resolution. A 1080p external webcam ($60 to $120) on a clamp or small tripod beats a 4K built-in, because the whole point is repositioning it to show hands, embouchure, or a music stand. Resolution past 1080p buys you nothing your student’s bandwidth can use.
4. Light from the front. One softbox or LED panel ($30 to $60) placed in front of you, slightly above eye level, removes the underlit-cave look and makes your hands readable in evening lessons when window light is gone.
5. Cheap room treatment. A rug, a bookshelf, and two absorption panels kill the hard slap echo that makes home audio sound amateur. Hang the panels at your first reflection points, which you find by sliding a mirror along the side wall until you can see the mic from your playing position, rather than simply putting them behind the camera. Built yourself, panels of the right thickness run around $40 each. Bought ready-made, closer to $60 to $100.
Total for a solid setup runs about $300 to $600 as of mid-2026, which a full teaching schedule typically earns back inside the first month or two. The deeper studio setup walkthrough covers mic placement and room acoustics in more detail, and the camera and video setup guide covers multi-angle rigs if you teach piano or strings and need an overhead hand shot.
The Audio Settings That Make or Break It
The default settings on every consumer video app are tuned for speech, which means they actively destroy music. Fix this once and it stops being an issue.
In Zoom, this is non-negotiable: turn on Original Sound for Musicians (Settings, Audio, Audio Profile). Selecting that profile is itself what switches Zoom’s noise suppression and post-processing off, so there is no background-noise slider left to hunt for. What remains under the profile is three checkboxes: high fidelity music mode, echo cancellation, and stereo audio. Turn on high fidelity music mode, add stereo audio if your mic supports it, and leave echo cancellation off unless your own speakers are feeding back into your mic. Then, critically, switch on the in-meeting Original Sound for Musicians control at the start of every lesson, because it does not always persist. Zoom has moved that control between versions, so scan the top edge of the meeting window rather than trusting a fixed corner. Skipping it is why so many online lessons sound like a phone call, since speech-tuned processing hears a sustained note as background noise and ducks it. If you have a reason to stay on the default Zoom optimized audio profile instead, that is where the Auto, Low, Medium and High background-noise slider lives, and Low is the most music-friendly setting it offers.
In Google Meet, there is no music mode. The only audio lever is the noise-cancellation toggle, and that appears only on paid Google Workspace and Google One plans, so you are otherwise stuck with speech-tuned processing, which is fine for talking and verbal feedback but flattens demonstrations. It is acceptable for beginners and conversation-heavy teaching, not ideal for nuanced tone work.
FaceTime is at its best Apple to Apple, where the audio holds up well for music once Mic Mode is set to Wide Spectrum, which is FaceTime’s equivalent of original sound. A Windows or Android student is not shut out, because a shared FaceTime link opens the call in their browser, but the browser version is a stripped-down experience and is better treated as a fallback than as your teaching platform.
Set the same expectation for your student: ask them to use a wired headset or earbuds to prevent their speaker feeding back into their mic, and to sit on Ethernet or close to the router. The full Zoom configuration for music lessons is worth bookmarking and sending to new students before lesson one.
Coaching the Student’s Camera (The Skill Nobody Mentions)
New online students point the webcam at their face by default. For most instruments you need to see hands or embouchure far more than expression, and getting the student to fix their own angle is a teachable, repeatable part of the first lesson.
- Piano: the laptop on the closed lid or a side table at keyboard height, shooting down the length of the keys at a 45-degree angle, shows both hands and the keybed. A phone on a cheap gooseneck clamp overhead is the upgrade.
- Guitar and ukulele: camera front-on at chest height, angled slightly toward the fretting-hand side so the neck reads along its length and both hands stay in frame. Shooting from the strumming-hand side points the neck away from the lens, which foreshortens the fretboard and puts the fretting hand farthest from the camera. Faces are optional here.
- Voice: the one exception. You want the face, jaw, and upper chest in frame, because you are reading tension, breath, and vowel shape, not finger position.
- Bowed strings and winds: prioritize the right hand or embouchure depending on what you are fixing that week, and tell the student to reframe when you switch focus.
Have the student self-monitor: most apps show their own video, so coach them to glance at their thumbnail and confirm their hands are centered before they start. This two-minute habit in lesson one prevents a dozen “I can’t see what you’re doing” interruptions over the next month.
Restructuring the Lesson Itself
A lesson that worked in a shared room will feel disjointed on video unless you redesign its shape. The reason is the latency wall: you can no longer overlap with the student, so the lesson has to become a clean sequence of one-direction blocks.
Switch from simultaneous to turn-based. In person you might noodle along, interrupt mid-phrase, and physically nudge. Online, structure the lesson as discrete passes: student plays a full section uninterrupted while you take notes, then you demonstrate while they watch, then they apply your one or two corrections. Trying to interrupt mid-phrase over 200 ms of latency just creates collisions and dead air.
Narrate what you used to point at. Replace “no, here” with “your third finger is landing flat, roll it onto the tip.” This forces verbal precision that, as a side effect, makes you a clearer teacher in person too.
Build in show-me checkpoints for accountability. You have lost the tactile read on whether practice actually happened, so engineer explicit demonstrations: “play me the passage from last week at the tempo we set.” Approaches for keeping students engaged and accountable on video are covered in depth in the online engagement guide.
Lean on the screen. Screen-share digital sheet music, annotate it live, drop a metronome or a YouTube reference into the chat, and assign a recording of the lesson for replay. These are things the room never gave you. Large physical method books, conversely, are a pain on camera, so favor PDFs and shared docs. Rebuilding your materials for the medium is enough of a job that it deserves its own treatment, which the remote curriculum design guide provides.
Open with the conversation the room used to supply. Jason builds rapport with online students by talking before the lesson starts, about gigs, a new instrument or how their week is going. In person, he says, that connection forms naturally over time. On video it needs a deliberate place at the top of the lesson.
Add buffer between lessons. Most teachers find back-to-back video lessons more draining than back-to-back in-person ones and need a 5 to 10 minute buffer to reset settings, log notes, and rest their eyes.
Migrating Your Existing Roster Without Losing Students
This is where transitions actually fail. The technical move is easy; keeping the families is the hard part. Done well, online retention from an existing roster runs high because the relationship already exists. Done carelessly, attrition in the handoff gets steep, and teachers who announce the move with a mass email consistently report heavier losses than teachers who convert families one at a time.
- Convert one-on-one, never with a mass email. A blast announcement invites a “we’ll think about it” that becomes attrition. Tell each family individually, ideally in the last few minutes of an in-person lesson, that you are moving online and you want to keep working with them.
- Run a free hybrid bridge lesson. Offer one no-charge online session, or run a hybrid where the in-person lesson uses your online setup so the family sees it works before anything changes. Skeptics convert far more often after one good remote lesson than after a paragraph of reassurance.
- Hold your rate and explain the math. Do not apologize for the same price online. Frame it honestly: same instruction, plus zero drive time for them, plus recorded lessons they can replay. If you teach kids, point out the parent no longer loses an hour in the car.
- Pre-empt the tech anxiety. Send a one-page setup sheet (the headset, the camera angle for their instrument, the Zoom link) and offer a 10-minute tech check before the first paid online lesson. In our experience most cancellations in week one are about fear of the technology, not the teaching.
- Expect a 1 to 3 month dip. A few families self-select out, then you backfill with out-of-area students who were never reachable before. Plan cash flow for that valley rather than panicking through it.
Pricing and Finding New Online Students
Two market realities change the moment you go online.
Your rate now competes nationally, not locally. A student searching online compares you against teachers in lower-cost regions, not just the three teachers in your town. That said, most experienced teachers hold their existing rate successfully, because students buy a specific teacher and a specific result, not a commodity hour. Do not reflexively discount; the loss of overhead and commute means you can often add lessons and net more even at a flat rate. The full pricing breakdown covers how to position against geographic competition.
Acquisition changes completely. Local flyers, recital networks, and word-of-mouth do not reach a national audience. Online, students find you through search, profiles, and the trial lesson. Treat your trial as a conversion event, not a free sample: a structured first lesson that produces one concrete win converts far better than a getting-to-know-you chat, and the mechanics of that are worth studying in the trial lesson conversion guide.
Or you can hand the acquisition off entirely. The third option, and the one many teachers actually choose, is to let a vetted platform do the finding for you instead of building a marketing funnel from scratch. You trade a share of the lesson fee for not having to run a marketing department, and for many teachers moving online that trade is the entire point. The income math of platform versus independent is worth running before you decide.
The Mistakes That Slow Teachers Down
- Cloning the in-person lesson. The turn-based, screen-shared, recorded format is its own thing. Use it.
- Underspending on audio while overspending on camera. Students forgive a soft picture and punish bad sound.
- No outage backup. Agree in advance on plan B: most teachers fall back to a phone call to finish the lesson when video dies, so it never becomes a refund conversation.
- Forgetting Original Sound. The most common quality complaint is self-inflicted by leaving Zoom’s speech processing on.
- Treating it as obviously worse. It is different rather than worse. The published research on online music instruction is still thin and mostly descriptive, so nobody should lean on it in either direction, and our own read on whether online lessons actually work rests on what teachers and families report rather than on a settled evidence base.
How Tunelark Vets Its Teachers, and Why It Matters for You
Every Tunelark teacher is vetted by working musicians and educators for teaching quality before they can list. That matters to you as much as it does to students: because the roster stays selective, each accepted teacher sees more of the incoming demand instead of competing with hundreds of profiles for the same inquiry. The detail of what we look for lives on the teach with Tunelark page.
How to Become a Music Teacher on Tunelark
Tunelark is a marketplace: students browse Find-a-Teacher and choose for themselves, so new students arrive alongside the ones you bring, and your pricing and methods travel with you. You set your own rates and teach your own way, and billing, scheduling, payments and support are handled here. The 24-hour cancellation policy and the minimum availability we ask for protect retention, the thing most at risk in the first months after a studio changes format. Whether a tax form arrives depends on your volume and your state; your teaching income is reportable either way, and your own tax professional can confirm the rules.
1. Apply to teach and submit a short profile.
2. Share a brief introduction along with a sample of your playing and your teaching.
3. Our team of experienced musicians and teachers reviews applications and follows up with teachers who meet the bar. We keep the roster selective on purpose.
4. Once you’re approved, you set your own rates, availability, and lesson approach, and we handle scheduling, billing, payments, and student discovery around you.
Tunelark works best for experienced teachers who care about long-term student relationships and want a platform that respects both their time and their craft.
Frequently Asked Questions
Why can’t I play duets or accompany my student in real time over Zoom?
You cannot, and no setting fixes it, because the delay is a round trip through two networks rather than a processing choice. The numbers are in the opening section. What is worth adding here is how experienced teachers work around it week to week: give the student the click or the backing track on their own device so the tempo lives on their end, ask for a recorded take between lessons when you need to hear them play with an accompaniment, and treat wired low-latency tools as a project for one advanced student rather than a studio default.
What is the single most important piece of equipment to buy first?
A USB condenser microphone, and the gear list above names the models and the price. What that list cannot tell you is whether yours is set up correctly, so test it: record 30 seconds of your quietest playing, listen back on headphones, and follow the tail of a sustained note. If the decay disappears into silence early, something between your instrument and the recording is still gating the signal, and the fix is a setting rather than a better microphone.
How do I keep students from leaving when I move my studio online?
One family at a time, in person, using the steps in the migration section above. The thing that section does not give you is timing, and timing is most of it: start the conversations about a month before the switch. A family who needs to think it over then has room to, you are not asking anyone to decide in the same week they first hear about it, and you still have several in-person lessons left to show them the setup.
Should I lower my rates for online lessons?
Usually not, for the reasons set out in the pricing section. If you feel the pressure to discount anyway, change what a lesson includes rather than what it costs. A recording of every lesson, written practice notes a parent can follow, or a short mid-week check-in are all worth more to a family than five dollars off, and none of them lowers a rate you would then have to raise again later.
What Zoom settings do I need so music doesn’t sound bad?
The audio settings section above gives the full sequence, including the in-meeting control that has to be switched on at the start of every lesson. The part worth adding: if music still sounds wrong after you have set your own side correctly, the problem is usually the student’s end, because their copy of the app is doing to their playing exactly what yours was doing to yours. Walk them through the same profile in their first lesson, and ask them to use wired headphones so their speakers are not feeding the call.
Keep reading
About Jennifer Heath
I'm Jennifer Heath, VP of Operations at Tunelark and a lifelong singer. I joined the company in 2020 and oversee much of what makes Tunelark work for students and teachers: hiring, training and supporting our instructors, student support, marketing and day-to-day operations. I started voice lessons at 7 and sang with touring choirs through my teens. Music belongs in every life, for the self-expression, the discipline, the comfort and the simple joy of it.